Hey there, fellow foodies! Today, I’m super excited to share with you a recipe that’s close to my heart – how to make seedless black raspberry jelly. There’s something special about preserving summer’s sweetness in a jar, and this recipe is as easy as it gets. With just two ingredients, you’ll have a delicious, homemade jelly that’s perfect for topping toast, yogurt, or even using as a glaze for meats. Plus, it’s a great way to enjoy those luscious black raspberries all year round!
Why You’ll Love This Recipe
- Only two ingredients needed – black raspberry juice and sugar!
- Seedless, so no tedious straining (unless you want to!)
- Perfect for canning, so you can enjoy it all year round
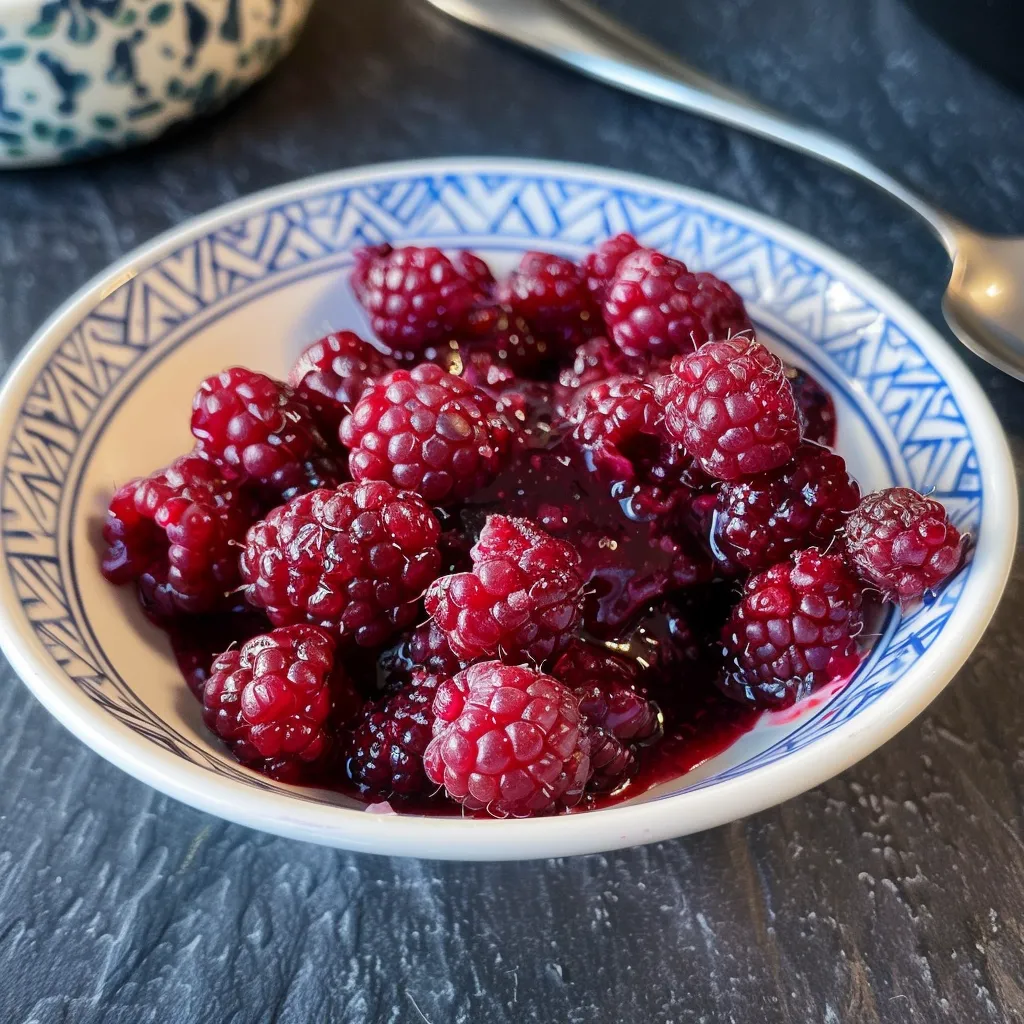
- Great way to use up fresh or frozen black raspberries
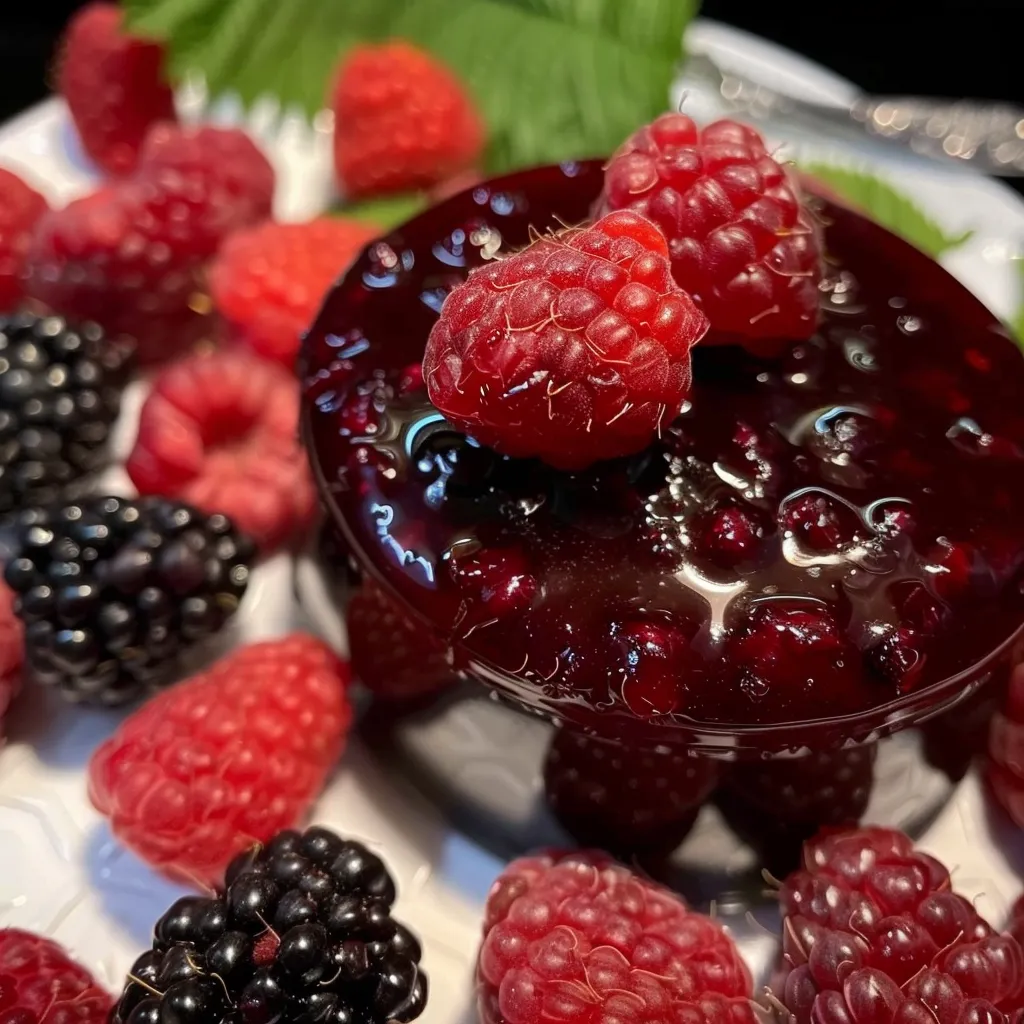
- Beautiful purple color that’s as stunning as it is delicious
- Can be used as a topping for toast, yogurt, ice cream, or even as a glaze for meats
Ingredients
Here’s what you’ll need to make this simple black raspberry jelly:
- 4 cups black raspberry juice (from 3-4 quarts black raspberries)
- 3 cups sugar
Full ingredient list with measurements is provided in the printable recipe card below.
How to Make the Recipe
Let’s walk through the process step by step:
Step 1: Extracting the Juice
Start by extracting the juice from the fruit. Cook the black raspberries with a bit of water (about 1/4 cup water per cup of fruit) until the fruit falls apart and releases its juices. Simmer for 10-15 minutes, or until the fruit is completely broken down. Then, measure the juice.
Step 2: Preparing the Canner
If you plan to can the jelly, now’s the time to prepare your water bath canner. Make sure it’s clean and ready for the jars.
Step 3: Cooking the Jelly
For every cup of juice, add 3/4 cup of sugar. This recipe uses 4 cups of juice and 3 cups of sugar, but you can scale it up or down depending on your yield. Place the juice and sugar in a saucepan and bring to a hard boil over medium-high heat, stirring frequently. Cook until it reaches the gel stage, which is 220 degrees F on an instant-read thermometer. This should take about 8 to 10 minutes, but it might take longer depending on your stove and the size of your batch.
Step 4: Filling the Jars
Once the jelly reaches the gel stage, ladle it into prepared jars, leaving 1/4 inch of headspace. If you’re canning, process the jars for 10 minutes in the water bath canner, adjusting for altitude as needed. After processing, remove the jars from the canner and let them cool on a towel on the counter. Check the seals after 24 hours.
Step 5: Storing the Jelly
Store any unsealed jars in the refrigerator for immediate use, and keep properly canned and sealed jars on the pantry shelf at room temperature. Properly canned and sealed black raspberry jelly will maintain its quality for 12-18 months. If you don’t can it, the jelly will keep for several weeks in the refrigerator, even longer if it’s unopened.
Pro Tips for Making the Recipe
- Use fresh, ripe black raspberries for the best flavor. If you’re using frozen, make sure to thaw them first.
- Don’t overcrowd the saucepan when cooking the jelly, as this can affect the gel stage.
- For a clearer jelly, you can strain the juice through a fine-mesh sieve before adding the sugar.
- Test the gel stage by placing a small amount of the jelly on a chilled plate. If it wrinkles when pushed with your finger, it’s ready!
How to Serve
Black raspberry jelly is incredibly versatile. Here are a few ideas for using it:
- Spread it on toast or English muffins
- Use it as a topping for yogurt or ice cream
- Drizzle it over pancakes or waffles
- Use it as a glaze for meats like pork or chicken
- Mix it into drinks for a sweet and tangy flavor
Make Ahead and Storage
One of the best things about this recipe is that it’s perfect for making ahead. Properly canned jars can be stored at room temperature for up to 18 months, making it a great way to enjoy the flavors of summer all year round. If you don’t can it, the jelly will keep in the fridge for several weeks, or even longer if it’s unopened.
And there you have it – a simple, delicious recipe for seedless black raspberry jelly that’s perfect for canning and enjoying all year round. Whether you’re a seasoned canner or just starting out, this recipe is a must-try. Happy cooking, and don’t forget to share your creations with friends and family!
Looking for more black raspberry recipes? Check out my posts on how to make canning black raspberry pie filling, how to make wild black raspberry jam, and how to make black raspberry syrup for more ideas on using up your black raspberries.
Black Raspberry Jelly (Seedless)
Ingredients
Method
- Extract juice by cooking black raspberries with 1/4 cup water per cup of fruit until fruit falls apart. Simmer for 10-15 minutes, then measure the juice.
- Prepare a water bath canner if canning.
- Combine juice and sugar in a saucepan. Bring to a hard boil and cook until gel stage (220°F) is reached, about 8-10 minutes.
- Ladle jelly into prepared jars, leaving 1/4 inch headspace. Process jars in a water bath canner for 10 minutes.
- Allow jars to cool, then store sealed jars in the pantry or unsealed jars in the refrigerator.