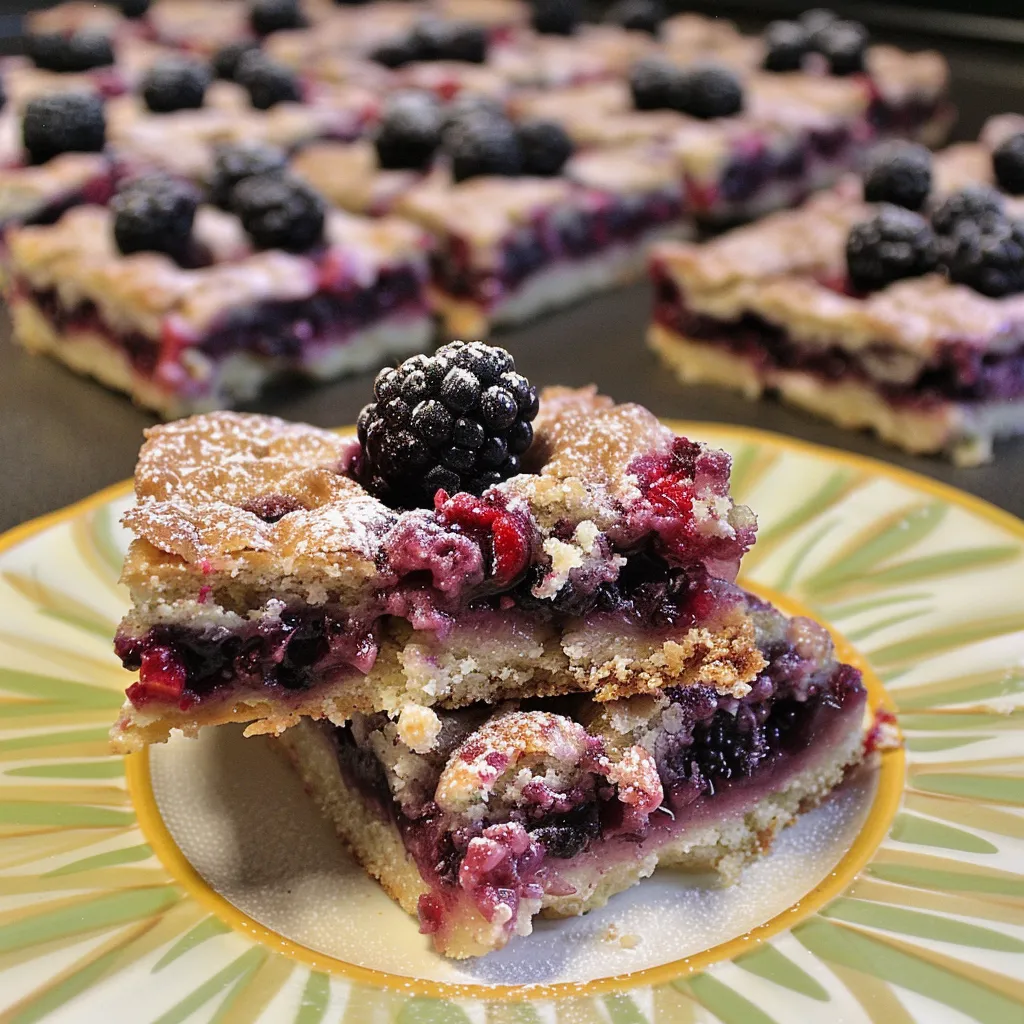
Hey there, fellow bakers! Today, I’m super excited to share with you a recipe that’s sure to become a family favorite—Black-Raspberry Bliss Bars! These scrumptious bars are the perfect combination of tangy and sweet, with a crumbly crust and a burst of fresh black raspberry flavor. Whether you’re looking for a dessert to impress your guests or a sweet treat to enjoy with your family, this recipe has got you covered. Plus, it’s one of those quick family dinners that you can whip up in no time. Let’s dive in and make some Black-Raspberry Bliss Bars!
Why You’ll Love This Recipe
- Perfect balance of sweet and tangy flavors
- Easy to make with simple ingredients
- Great for potlucks, picnics, or family gatherings
- A delicious way to enjoy fresh black raspberries
- Can be prepared in under 30 minutes for a quick dessert
Ingredients
Here’s what you’ll need to make these delicious Black-Raspberry Bliss Bars:
- 1 cup white sugar
- 1 teaspoon baking powder
- 3 cups all-purpose flour
- 1 cup cold unsalted butter (2 sticks or 8 ounces)
- 1 egg
- 1/4 teaspoon salt
- Juice of one lemon
- 4 cups fresh black raspberries
- 1/2 cup white sugar
- 4 teaspoons cornstarch
Full ingredient list with measurements is provided in the printable recipe card below.
How to Make the Recipe
Let’s walk through the steps to make these Black-Raspberry Bliss Bars:
- Preheat your oven to 375 degrees F (190 degrees C). Grease a 9×13 inch pan and set it aside.
- In a medium bowl, stir together 1 cup sugar, 3 cups flour, and baking powder. Mix in salt and lemon zest. Use a fork or pastry cutter to blend in the butter and egg. The dough will be crumbly. Pat half of the dough into the prepared pan.
- In another bowl, stir together the sugar, cornstarch, and lemon juice. Gently mix in the black raspberries. Sprinkle the black raspberry mixture evenly over the crust. Crumble the remaining dough over the berry layer.
- Bake in the preheated oven for 45 minutes, or until the top is slightly brown. Cool completely before cutting into squares.
Pro Tips for Making the Recipe
Here are some tips to ensure your Black-Raspberry Bliss Bars turn out perfectly:
- Use fresh black raspberries for the best flavor. If fresh raspberries aren’t available, you can use frozen raspberries, but thaw and pat them dry first.
- Don’t overmix the dough, as it can make the crust tough.
- Let the bars cool completely before cutting to ensure they hold their shape.
- Consider using other types of raspberries or a mix of raspberries and blackberries for a different twist.
How to Serve
These Black-Raspberry Bliss Bars are versatile and can be served in various ways:
- Serve warm with a scoop of vanilla ice cream for a delicious dessert.
- Cut into smaller squares for a quick snack or lunchbox treat.
- Pair with a cup of coffee or tea for a mid-afternoon pick-me-up.
- Bring to a potluck or picnic for a crowd-pleasing dessert.
Make Ahead and Storage
These bars are perfect for making ahead and storing:
- Store in an airtight container at room temperature for up to 3 days.
- Refrigerate for up to 5 days for freshness.
- Freeze for up to 2 months. Thaw at room temperature or reheat in the microwave.
If you love black raspberries as much as I do, you might also enjoy these other delicious recipes:
- How to Make Wild Black Raspberry Jam Perfectly Delicious
- How to Make Black Raspberry Jelly – A Homemade Recipe
- How to Make Seedless Black Raspberry Sauce
There you have it, folks! A simple and delicious recipe for Black-Raspberry Bliss Bars that’s perfect for any occasion. Whether you’re looking for a quick dessert or a special treat, these bars are sure to hit the spot. Happy baking!
Black-Raspberry Bliss Bars
Ingredients
Method
- Preheat the oven to 375 degrees F (190 degrees C). Grease a 9×13 inch pan.
- Mix 1 cup sugar, 3 cups flour, and baking powder. Add salt and lemon zest. Blend in butter and egg. Pat half of dough into the prepared pan.
- Stir together sugar, cornstarch, and lemon juice. Gently mix in black raspberries. Spread over crust. Crumble remaining dough over berries.
- Bake for 45 minutes, or until top is slightly brown. Cool completely before cutting into squares.