Hey there, fellow foodies and homemade enthusiasts! Are you ready to capture the sweet-tart magic of black raspberries all year round? Today, I’m thrilled to share with you my tried-and-true guide on how to make canning black raspberry pie filling. This recipe is perfect for anyone who loves the idea of quick family dinners and wants to incorporate more homemade goodness into their meals. Plus, it’s one of those easy pasta recipes—wait, no, it’s even better because it’s about preserving deliciousness for future meals!
Why You’ll Love This Recipe
- Enjoy black raspberries year-round with this easy canning process.
- Perfect for making pies, tarts, or even as a topping for yogurt or ice cream.
- A great way to preserve fresh or frozen black raspberries.
- Clear Jel ensures a smooth, thick filling without artificial additives.
- Step-by-step instructions make it accessible for canning beginners.
Ingredients
Here’s what you’ll need to make this delicious black raspberry pie filling:
- 3 ½ cups black raspberries (fresh or frozen)
- ¾ cups plus 2 tablespoons granulated sugar
- ¼ cup + 1 Tbsp. Clear Jel
- 1 cup cold water (or juice)
- 3 tbsp bottled lemon juice
- 6 quarts black raspberries (fresh or frozen)
- 6 cups granulated sugar
- 2 ¼ cups Clear Jel
- 7 cups cold water (or juice)
- ½ cup bottled lemon juice
Full ingredient list with measurements is provided in the printable recipe card below.
How to Make the Recipe
Let’s dive into the step-by-step process of making and canning this black raspberry pie filling:
- Prepare a water bath canner, lids, and jars. Make sure everything is clean and ready for canning.
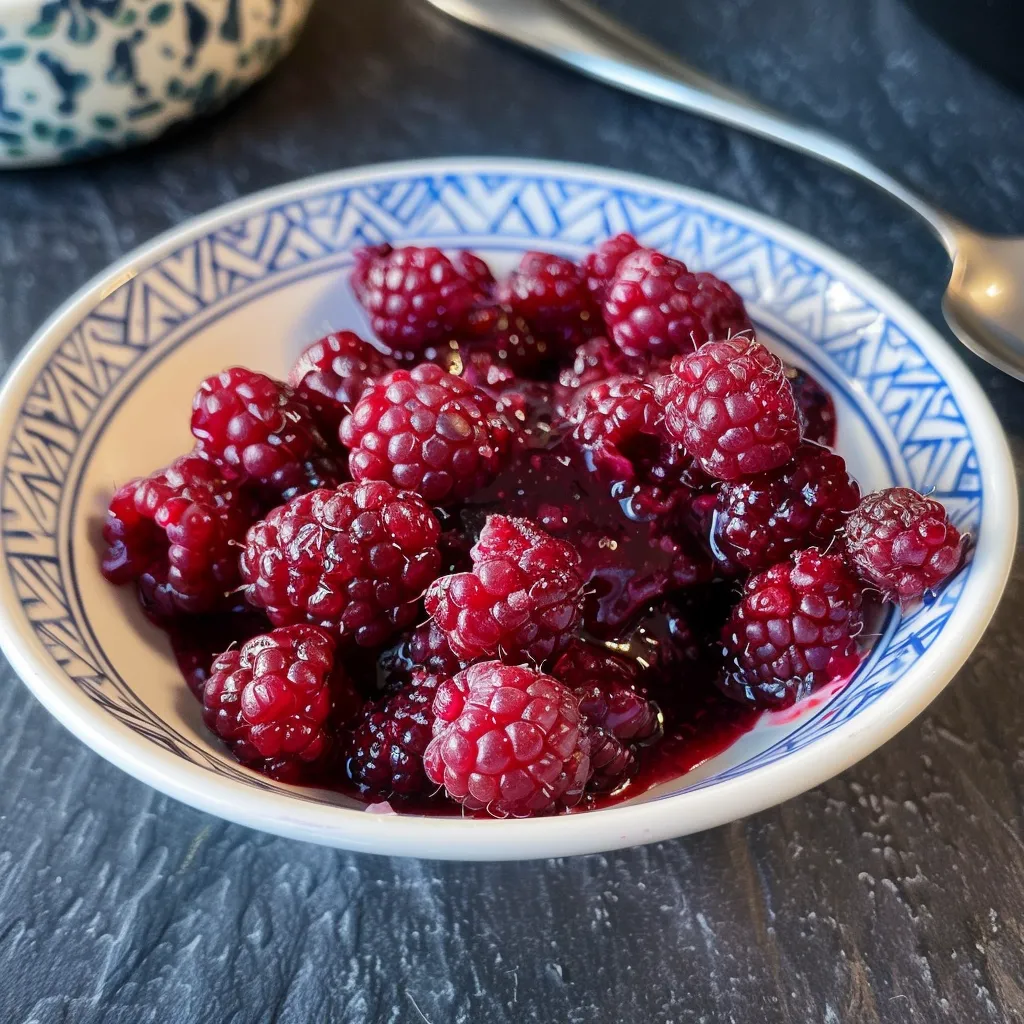
- Wash and drain black raspberries. If using frozen, thaw in a colander and collect the juice to add to your pie filling mixture.
- Blanch the berries by filling a pot with a few quarts of water. Once boiling, add berries and cook for one minute. Drain or remove with a slotted spoon, placing in a covered dish or pot to keep warm.
- Combine sugar and Clear Jel in a large pot. Add in your cold water, whisking to fully dissolve the Clear Jel. Once the Clear Jel has fully dissolved, set to medium-high heat. Whisk or stir continuously as the mixture heats and thickens. Once bubbling, add the lemon juice and boil for one more minute, continually stirring.
- Remove from heat and fold in blanched berries. Ladle into prepared canning jars leaving 1 inch headspace. De-bubble the mixture, clean rims, and apply 2-part canning lids.
- Immediately process in a water bath canner for 30 minutes, increasing time as needed for altitude.
- After processing time is complete, turn off the water bath canner and allow the jars to rest for 10 minutes. Remove with the assistance of a jar lifter and place on a towel-covered surface.
- Check seals after 12 to 24 hours. Store any unsealed jars in the refrigerator to be used promptly. Properly sealed jars will maintain best quality for 12 months. Refrigerate after opening.
Pro Tips for Making the Recipe
Here are a few tips to ensure your black raspberry pie filling turns out perfectly:
- Use fresh, high-quality black raspberries for the best flavor.
- Don’t skip the blanching step—it helps preserve the color and texture of the berries.
- Always use bottled lemon juice for canning, as it has consistent acidity levels.
- Clear Jel is a must for this recipe—it provides a smooth, thick texture without artificial additives.
How to Serve
Now that you’ve made your black raspberry pie filling, here are a few ways to enjoy it:
- Use it as a filling for homemade pies or tarts.
- Top yogurt, oatmeal, or ice cream with a spoonful of this delicious filling.
- Use it as a base for smoothies or sauces.
- It’s also a great topping for pancakes or waffles!
Make Ahead and Storage
One of the best things about canning is that it allows you to enjoy your favorite flavors all year round. Here’s how to store your black raspberry pie filling:
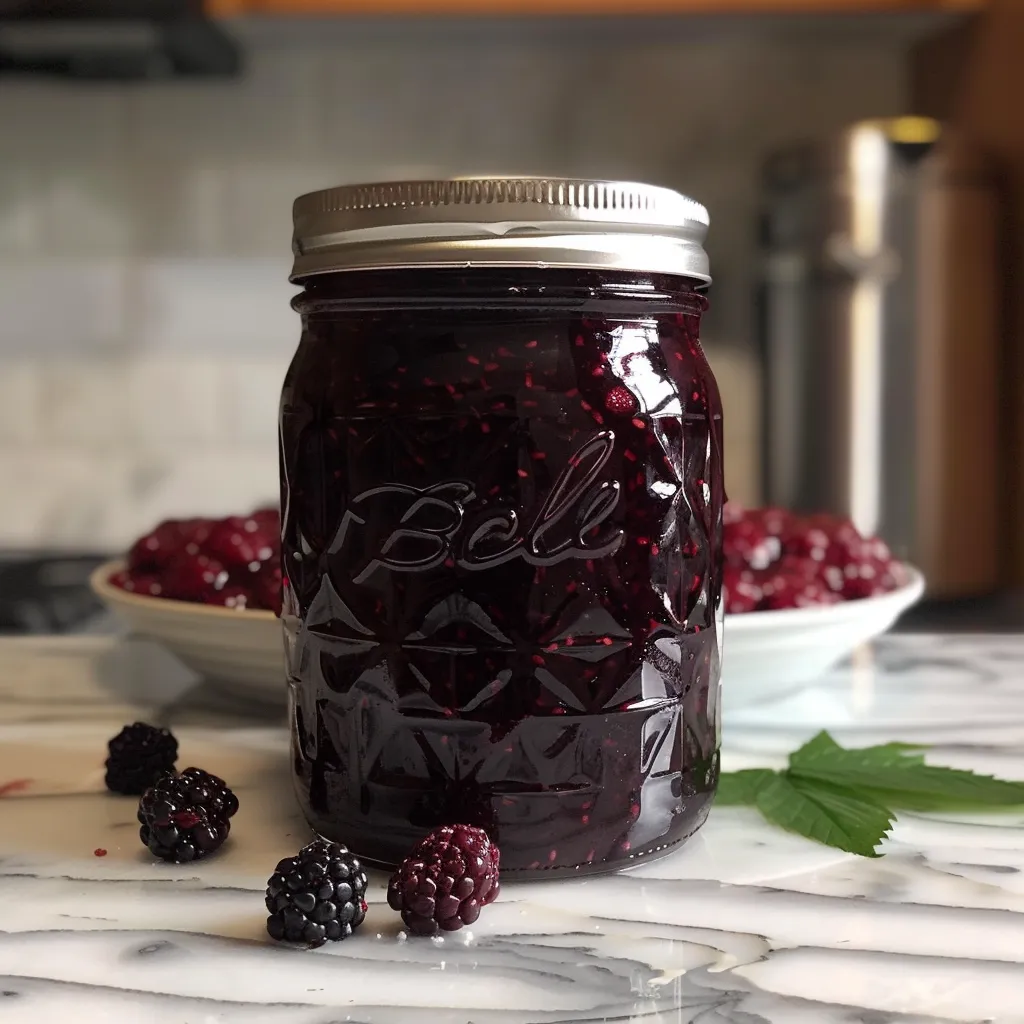
- Sealed jars: Store in a cool, dark place. Properly sealed jars will maintain best quality for 12 months.
- Opened jars: Once opened, store in the refrigerator and use within a few weeks.
And there you have it—your very own homemade black raspberry pie filling, ready to be enjoyed whenever the craving strikes! This recipe is perfect for canning black raspberry pie filling and is sure to become a family favorite. Happy canning, and don’t forget to share your creations with friends and family!
Canning Black Raspberry Pie Filling
Ingredients
Method
- Prepare a water bath canner, lids, and jars.
- Wash and drain black raspberries. If using frozen, thaw in a colander and collect the juice to add to your pie filling mixture.
- Blanch the berries by filling a pot with a few quarts of water. Once boiling, add berries and cook for one minute. Drain or remove with a slotted spoon, placing in a covered dish or pot to keep warm.
- Combine sugar and Clear Jel in a large pot. Add in your cold water, whisking to fully dissolve the Clear Jel. Once the Clear Jel has fully dissolved, set to medium-high heat. Whisk or stir continuously as the mixture heats and thickens. Once bubbling, add the lemon juice and boil for one more minute, continually stirring.
- Remove from heat and fold in blanched berries. Ladle into prepared canning jars leaving 1 inch headspace. De-bubble the mixture, clean rims, and apply 2-part canning lids.
- Immediately process in a water bath canner for 30 minutes, increasing time as needed for altitude.
- After processing time is complete, turn off the water bath canner and allow the jars to rest for 10 minutes. Remove with the assistance of a jar lifter and place on a towel-covered surface.
- Check seals after 12 to 24 hours. Store any unsealed jars in the refrigerator to be used promptly. Properly sealed jars will maintain best quality for 12 months. Refrigerate after opening.